In the competitive world of smartphone repair, efficiency and quality are paramount. Among the essential tools in a technician's toolkit, the LCD screen separator plays a crucial role in the process of screen replacement and repair. This guide will provide an in-depth look at the operation of LCD screen separators, focusing on best practices, tips, and techniques that every mobile repair entrepreneur and technician should know.

Why an LCD Screen Separator is Essential
Before diving into the specifics of operating an LCD screen separator, it’s important to understand its significance. When repairing smartphones, separating the glass from the LCD can be a challenging task. Using the right equipment not only simplifies this process but also minimizes the risk of damaging components, ensuring a successful repair. A quality LCD screen separator allows technicians to:
- Safely Separate Screens: It reduces the risk of cracking or damaging the LCD during the separation process.
- Enhance Efficiency: Proper tools streamline the workflow, allowing for quicker repairs and higher turnover rates.
- Improve Customer Satisfaction: By providing high-quality repairs, technicians can enhance their reputation and encourage repeat business.

Types of LCD Screen Separators
1. Manual LCD Screen Separators
Manual separators require technicians to apply heat using a heat gun and manually separate the glass from the LCD with tools such as suction cups and plastic pry tools. While this method is cost-effective, it demands a high level of skill and patience.
2. Hydraulic and Electric LCD Screen Separators
These machines automate much of the separation process, offering adjustable temperature settings and vacuum suction features. They are generally more expensive but can save time and reduce the risk of errors, making them ideal for high-volume repair shops.
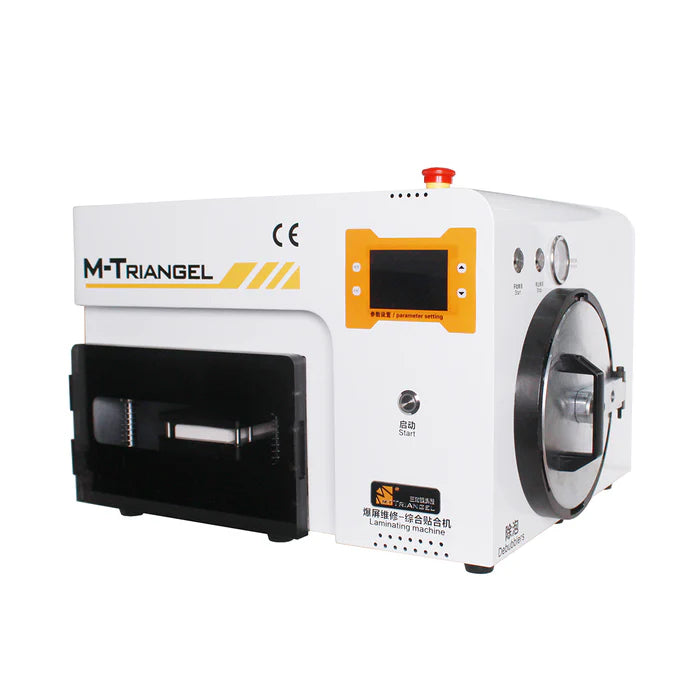
3. Bubble Removal Machines
These machines combine the functions of screen separation and bubble removal, allowing technicians to tackle two tasks in one go. They are particularly beneficial for addressing issues related to adhesive bubbles during the installation of new screens. M2-max is the ultimate solution for mobile phone and tablet screen bubble removal and separating, this 14" cracked screen repair platform a built-in big suction pump for stable quality and economic utility.
Step-by-Step Operation Guide
Now that we’ve covered the different types, let’s walk through the steps of operating an LCD screen separator effectively. While specific features may vary, the basic operational principles remain similar.
Preparing for Separation
-
Gather Your Tools: Before starting, ensure you have all necessary tools ready, including:
- LCD screen separator
- Heat gun (if not integrated)
- Pry tools and suction cups
- Clean workspace
-
Turn on the Machine: Power up your LCD screen separator and allow it to heat up to the desired temperature. Refer to the specific model’s manual for optimal temperature settings.
-
Apply Heat: If your model requires an external heat source, use the heat gun to warm the edges of the device. This softens the adhesive, making the separation process easier. Avoid overheating, as this can damage internal components.
Operating the LCD Screen Separator
-
Position the Device: Place the smartphone or tablet on the separator platform, ensuring it is aligned with the vacuum suction pad.
-
Activate the Vacuum: Turn on the vacuum feature to securely hold the device in place.
-
Begin Separation: Using a pry tool, carefully insert it between the glass and the LCD. Start at a corner and gently work your way around, ensuring the adhesive is sufficiently softened.
-
Monitor the Process: Keep an eye on the LCD and glass separation to avoid any damage. Adjust temperature settings if necessary.
Final Steps of Separation
-
Complete the Separation: Once the adhesive is sufficiently softened and you’ve worked the pry tool around the edges, gently lift the glass away from the LCD. Take care to do this slowly to prevent any damage.
-
Inspect the LCD: After separation, check the LCD for any damage or residual adhesive. This step is crucial before installing a new screen or reapplying the glass.
-
Clean Up: Clean the LCD and glass surfaces to ensure a good seal when applying a new screen. Remove any leftover adhesive and dust particles.
Tips for Successful Separation
- Practice Patience: Rushing can lead to mistakes. Take your time to ensure each step is executed properly.
- Maintain Equipment: Regularly check and maintain your separator machines to ensure they operate at peak efficiency.
- Stay Informed: Keep up with the latest techniques and technologies in smartphone repair to enhance your skills.
Common Challenges and Solutions
Issue: Screen Cracks During Separation
- Solution: Ensure that the adhesive is adequately softened by applying sufficient heat. Use slow and steady pressure when inserting the pry tool.
Issue: Inconsistent Heating
- Solution: Regularly check the heating elements and ensure they are functioning properly. Clean any debris that may interfere with heating efficiency.
Issue: Vacuum Not Holding the Device
- Solution: Check the vacuum pad for debris or damage. Ensure the device is correctly positioned to create a proper seal.
Conclusion
Using an LCD screen separator is essential for any mobile repair technician aiming for success in the industry. By following this operation guide and practicing regularly, you can improve your repair quality and customer satisfaction, ultimately leading to a more profitable business. Go and buy LCD Separator Machine now!
Investing in high-quality tools and continuously honing your skills will not only streamline your repair process but also enhance your reputation in the competitive smartphone repair market. Remember, the key to a successful repair shop lies in both the quality of your work and the tools you use. Happy repairing!


