Since the iPhone 14 series came out, we found some guys have broken the back glass and are looking for repair solutions. Every time iPhone released and bring new changes, this time iPhone 14 series made a friendly design inside, its back cover is no longer a one-piece design, but can be removed separately. M-Triangel brings you a complete tutorial on how to properly remove the back cover of iPhone 14 series.
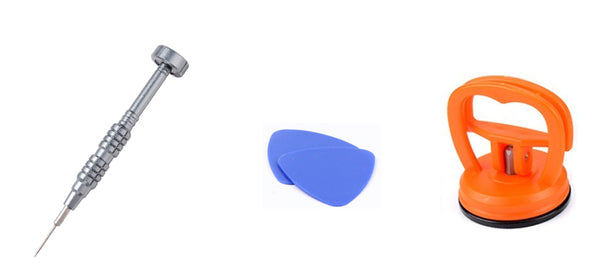
1. Prepare a special screwdriver for iPhone, 2 plastic pry piece, a suction cup or a opening tool.
2. Remove the bottom 2 screwdrivers

3. Use the suction cup to suck the back glass, near the bottom of the position, and to make a crack
4. Use the pry to cut the edge of the back cover, be careful not to go too deep to avoid cutting the wires

5. Slowly flip open from the left side (power button side), and remove the wireless charging wires

Tool purchase link
Screwdriver Precision Repair Tool Kit for iPhone Repair